We finally wrapped up the camper renovation! AND I HAVE A VIDEO AT THE END OF THIS POST! Well actually I still have a few left things to do like find a light fixture for the kitchen. But overall it's DONE! AND now I've decided to start the blog series on the entire renovation journey. I've shared the before pictures, now I want to show you what it looked like once "demo day" was complete. Chip Gaines would seriously be so proud of me. Just to recap: We bought the camper on the afternoon of Monday April 9th and got home super late. I took all the before pictures that Tuesday (you can see the before by CLICKING HERE). Then demo started that Wednesday. I had everything tore out by the time Austin got home from work. He pulled into the driveway to a huge pile of demo rubble. His first words were "Kayla, what have you done?"
If you've been following along with the reno on my Instagram Stories then you know how drastic these renovations have been. I'm already sharing some before and after sneak peeks. I plan on sharing all the stages with you here on the blog with much more detail that the tiny Instagram captions allow. I never knew this project would be so interesting to so many people. But everyone is loving it!! Austin and I will be doing an Instagram live Q&A and I will announce that date soon on Instagram. The plan is... I will answer all the design questions and any questions about electrical, plumbing, or the mechanics of the camper Austin will answer. Then I will round all the questions into a post here on the blog.
I got so caught up in the renovation I forgot how much progress we were making. Looking back now- "is this even the same camper?! Wow! A lot of blood, sweat, and tears have went into this project and I'll admit we loved working on it so much. Austin looked at me yesterday and asked, "What are we going to do this afternoon since we are done?" It has became part of our daily routine. Some couples like date nights, movies, and parties- we like projects. Actually we like all of the above.
I will start this "Camper Renovation Series" off with the first step - DEMO. So here are some pictures of what it looked like after demo. I will explain what we did under the photos:
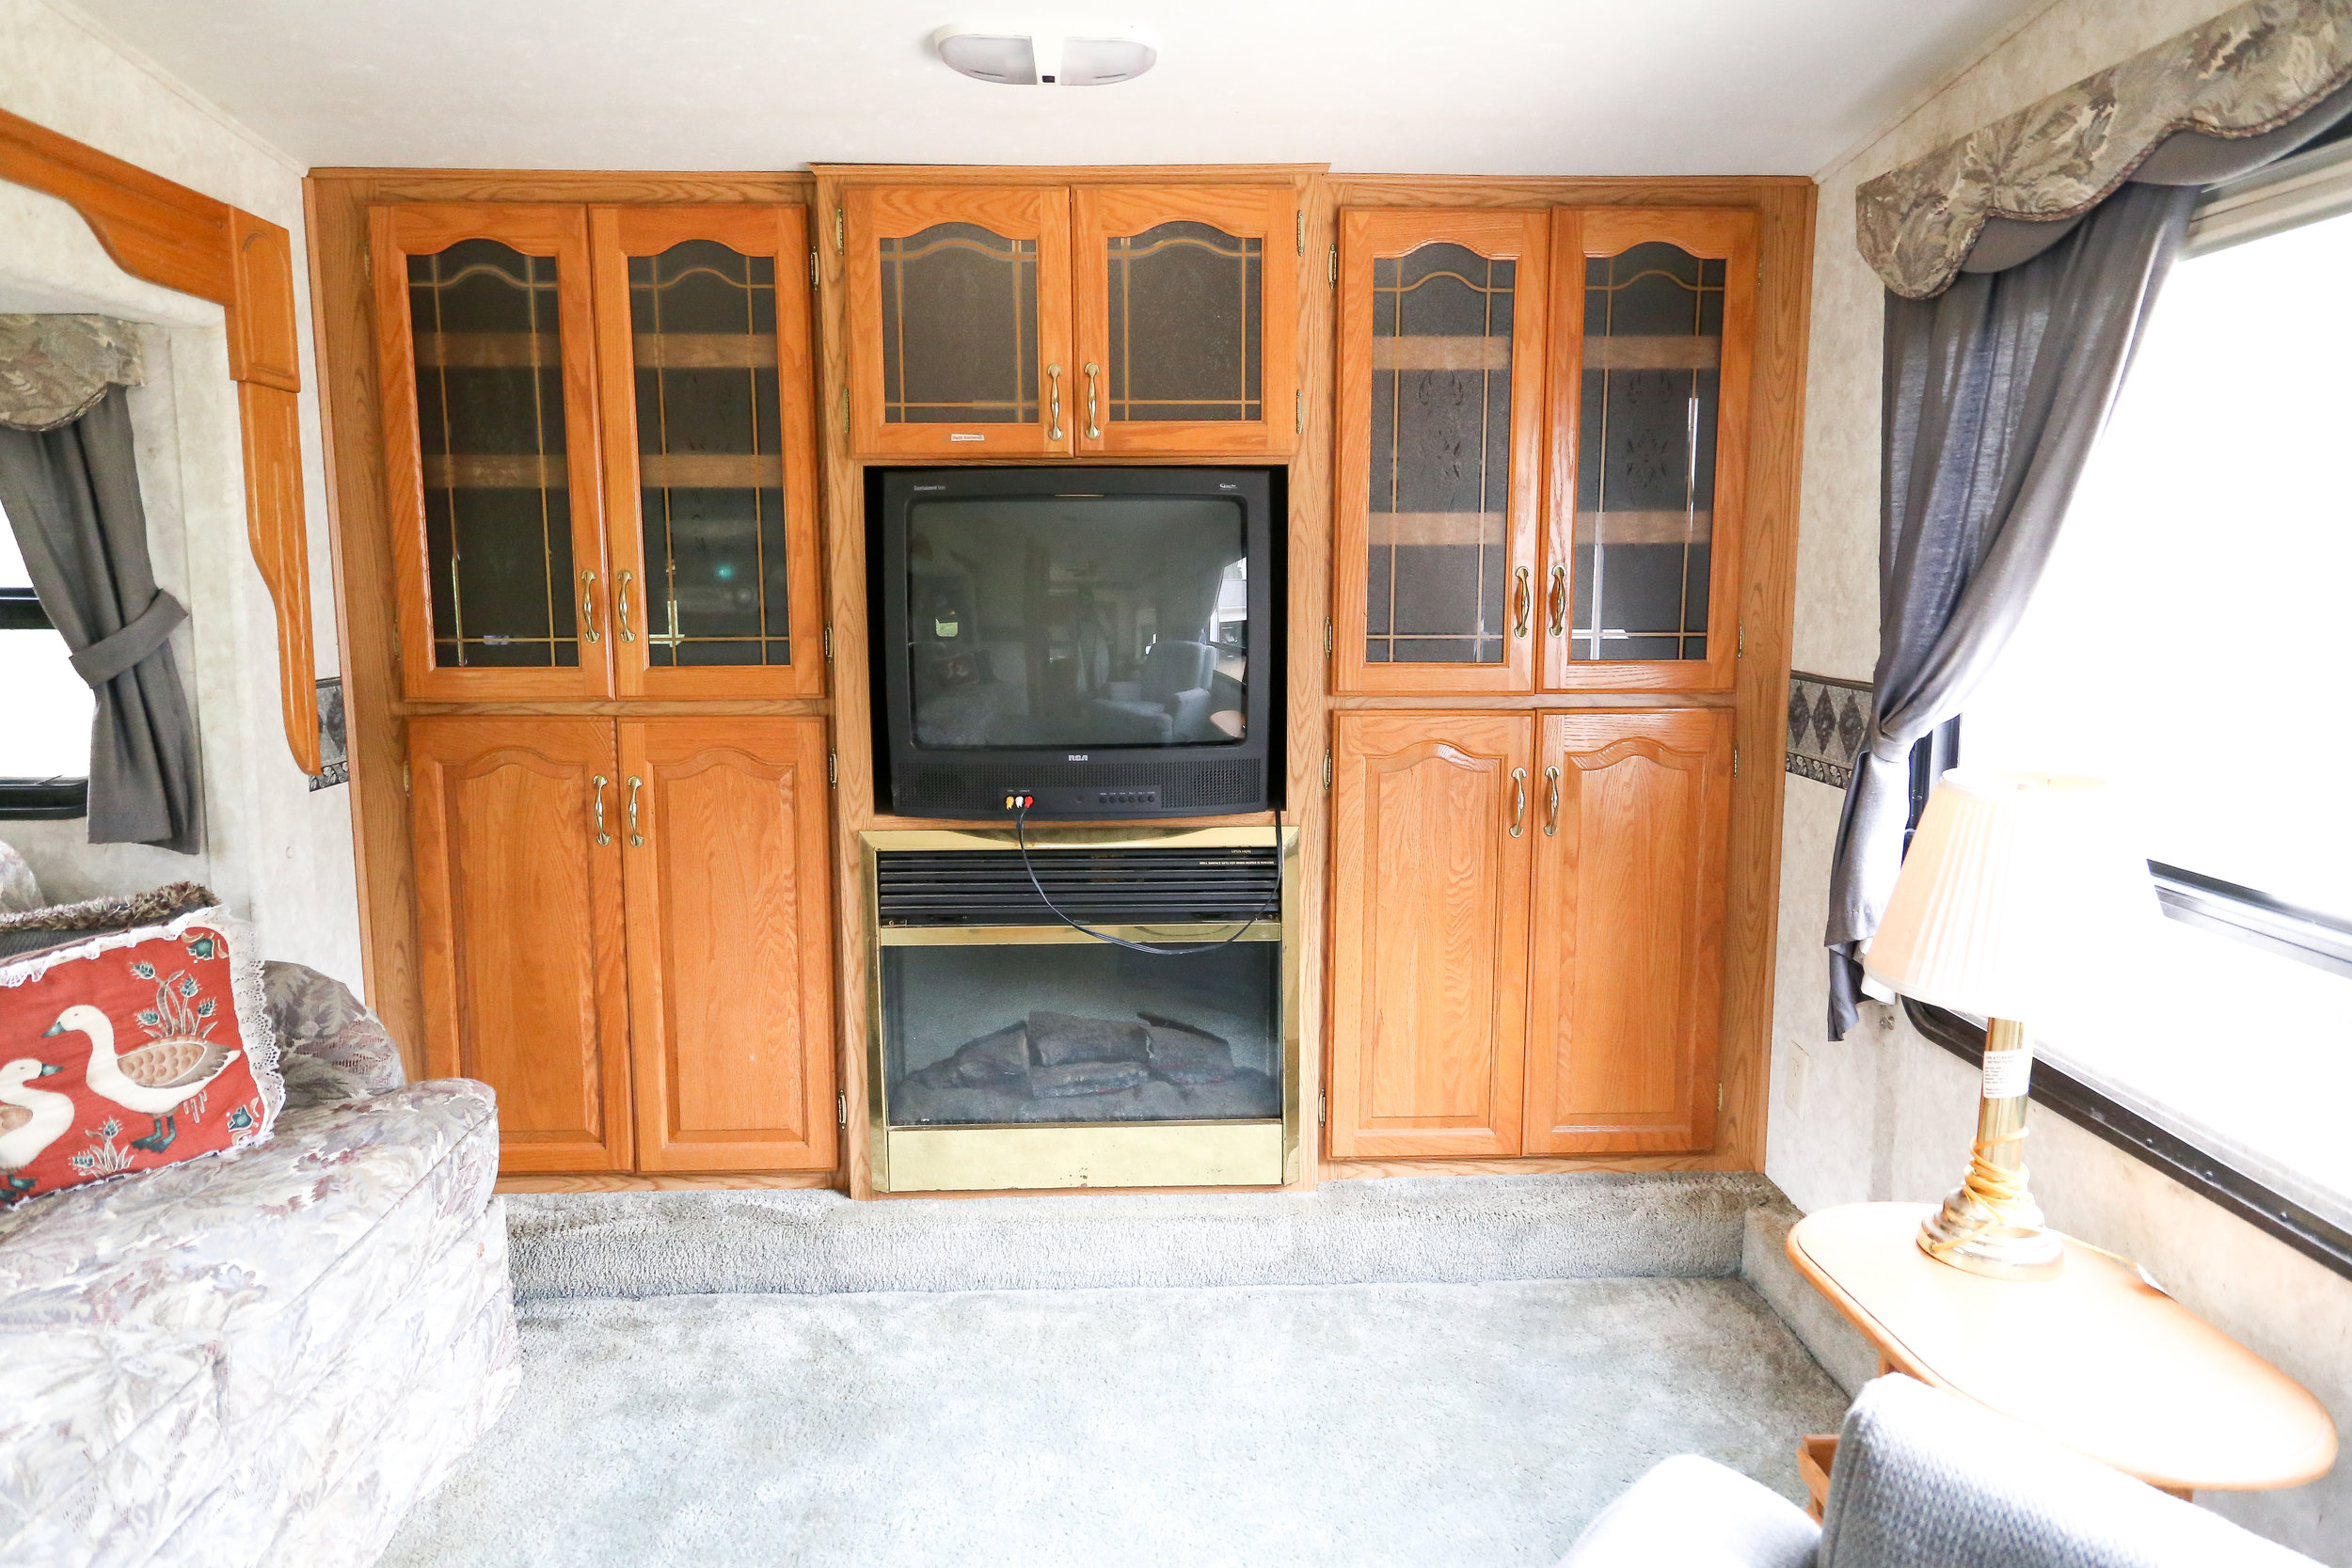
This is the demo of the front living area. First thing we did was remove the sofa, recliner, side table, lamp, curtains, blinds, and the boxes above the windows. The we "cut" the front entrainment center in half- removing the upper cabinets while keeping the bottom cabinets and fireplace. And we ripped up the carpet. We had already added the shiplap wall when I took this photo. This is definitely not Fixer Upper where you remove a wall to expose beautiful shiplap. We exposed a huge hole into the front cap of the camper. So we reinforced with a plywood wall and then we added the shiplap.
One of three slides the camper has is the sofa area in the living room. This was a sofa that folded down like a futon into a small little bed. Here you can see the fabric skirt on this sofa hid the slide mechanism. Later on in the series I will show you how we concealed this with our new sofa.
Here you get a really good view of the curtains and fabric boxes. It brought me so much joy to get those things out. The window boxes are super easy to remove. They are simply held up with screws. And this recliner weighed sooo much!! It was a beast to get out.
Here we removed the steps and the fabric round piece above the door.
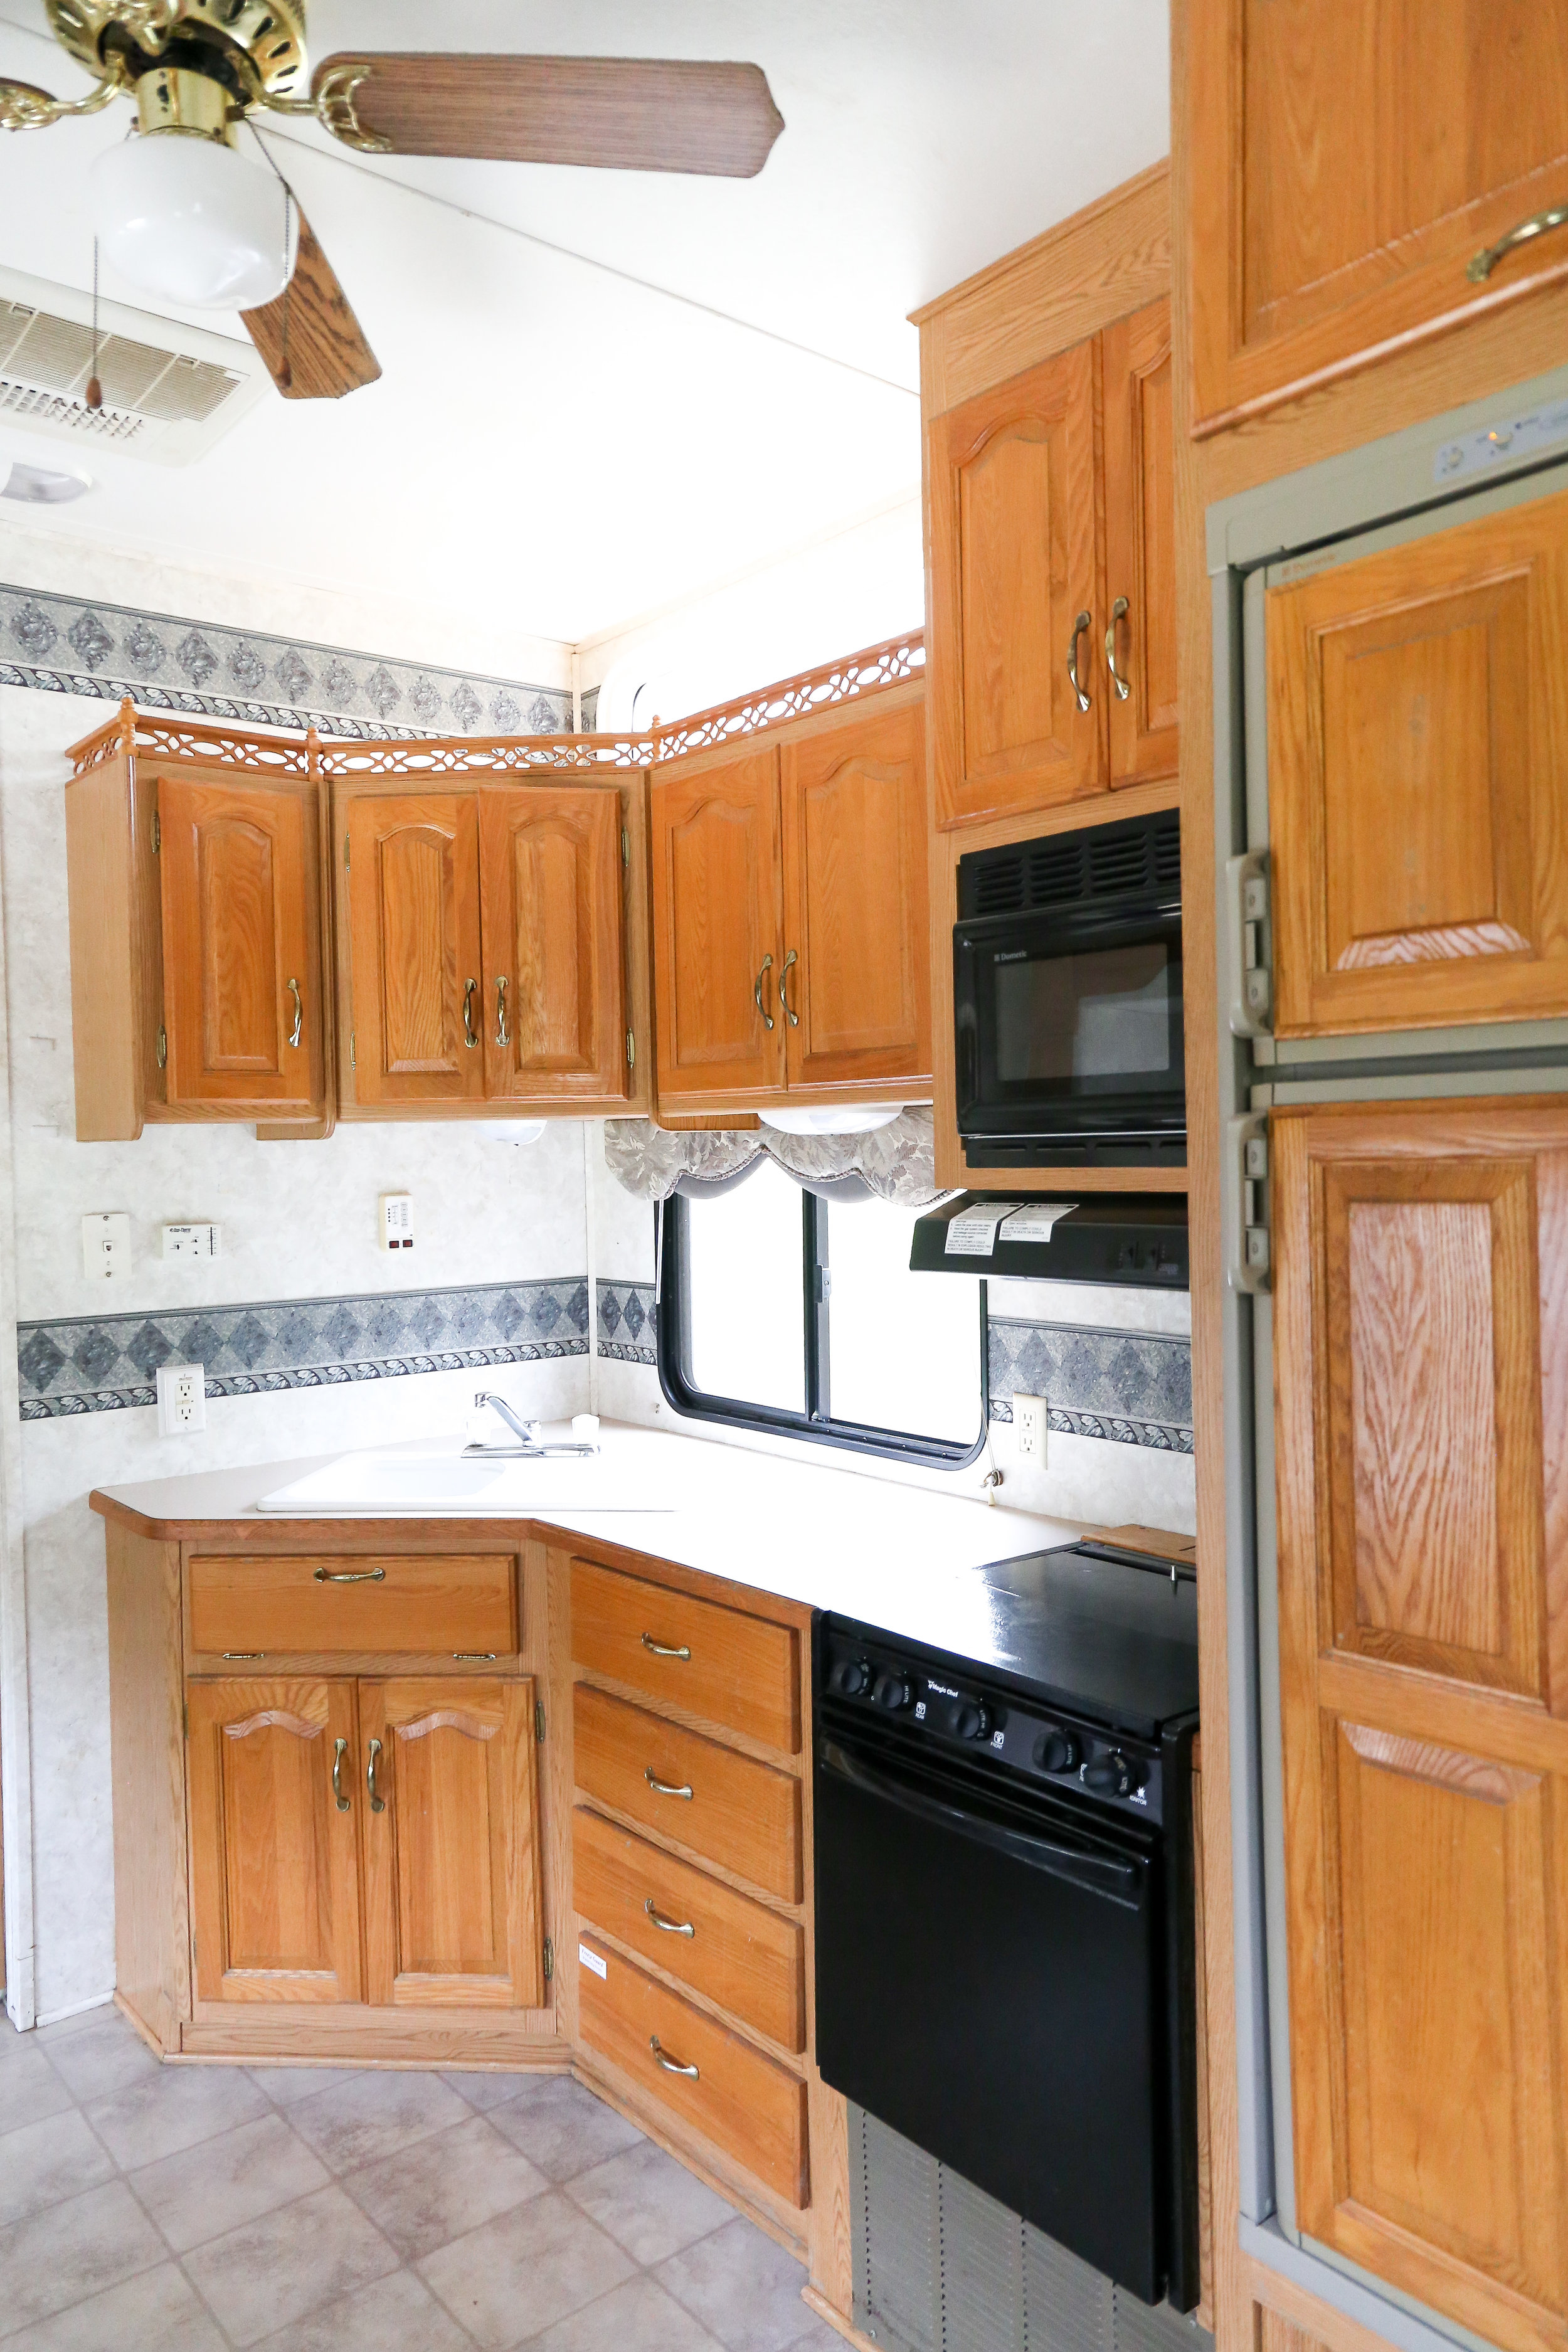
In the kitchen I removed the upper cabinets above the countertops. This area was way to visual heavy on the eyes with all those cabinets. The cabinets are easy to remove. They are held up with screws from the bottoms and the insides of the cabinets. You have to pop a piece of panelling lose on the bottoms of the cabinets to expose the screws. I also removed the cabinet doors for paint prep.
Here is a couple more views of the kitchen before demo and after.
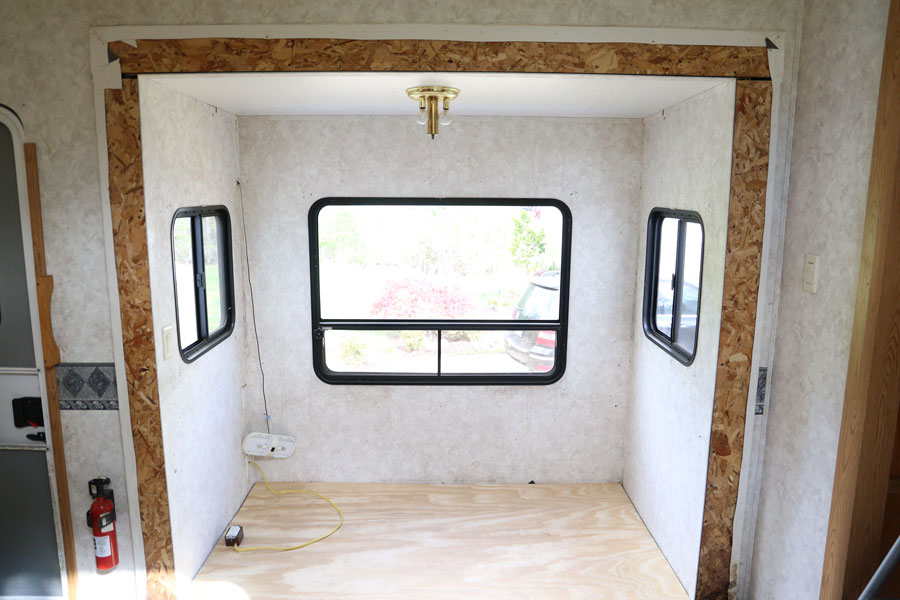
Slide number two is the dining area. I went complete demolition in the dining area. Removing everything! I removed the bench seats, the table, the overhead cabinets, and all the curtains/blinds/window boxes. We also added a new piece of plywood on top of the subfloor in preparation for adding the transition for the vinyl wood floors we add later on.
And slide number three is in the bedroom. Of course that mattress had to go! I also removed the fabric round headboard, the overhead cabinets, the curtains, and later I removed the nightstand.
And somehow I missed a demo picture of this area. But I removed the cabinets above the dresser area and all the weird molding on top of the corner cabinet.
So all together I demoed 960 pound of 90s fashion out of this camper. I know this because they weighted us at the landfill. I think Austin had an ohh crap moment when he pulled into the drive and saw what all I had tore out. But all I saw was my vision starting to come to life. So many people have messaged me saying they are scared to remove stuff in their camper or don't know where to start. I had zero knowledge of camper demo before I started. I just got in there with a drill, pry bar, and hammer and learned as I went. I can tell you this almost everything is held up with screws and a lot of them. So just look for the screws! Don't be scared, just get started. You will learn as you go.
So this concludes "Series Part 1" of the renovation. The next couple of series will focus on individual projects we did in the camper. I will be sharing all the details on how we tackled each project. I know it doesn't look very promising from these pictures, but it turns out even better than I imagined in the end!
As always thank you so much for stopping by today and reading my blog. I've been blown away with the interest in this camper renovation and I'm so happy to share this entire process with you. Be sure to follow me over on FACEBOOK and INSTAGRAM for more behind the scenes of this little business I call life. I'm also pinning a lot more DIY projects over on PINTEREST.
With love,
And as promised here is a video. I promised so many I would take my "Insta Stories" and make them into a video. I wish I would have known before so many of you would love this because I could have made good quality videos. But ohh well and here ya go with the first video. I will be sharing the whole journey via reliving my Instagram stories as full videos throughout the series. So just bare with me as I jump into the unknown world of videos, video editing, and sharing on YouTube! I promise the final reveal video will be good!


